How To: Tying the Texas Toad
The Texas Toad Fly
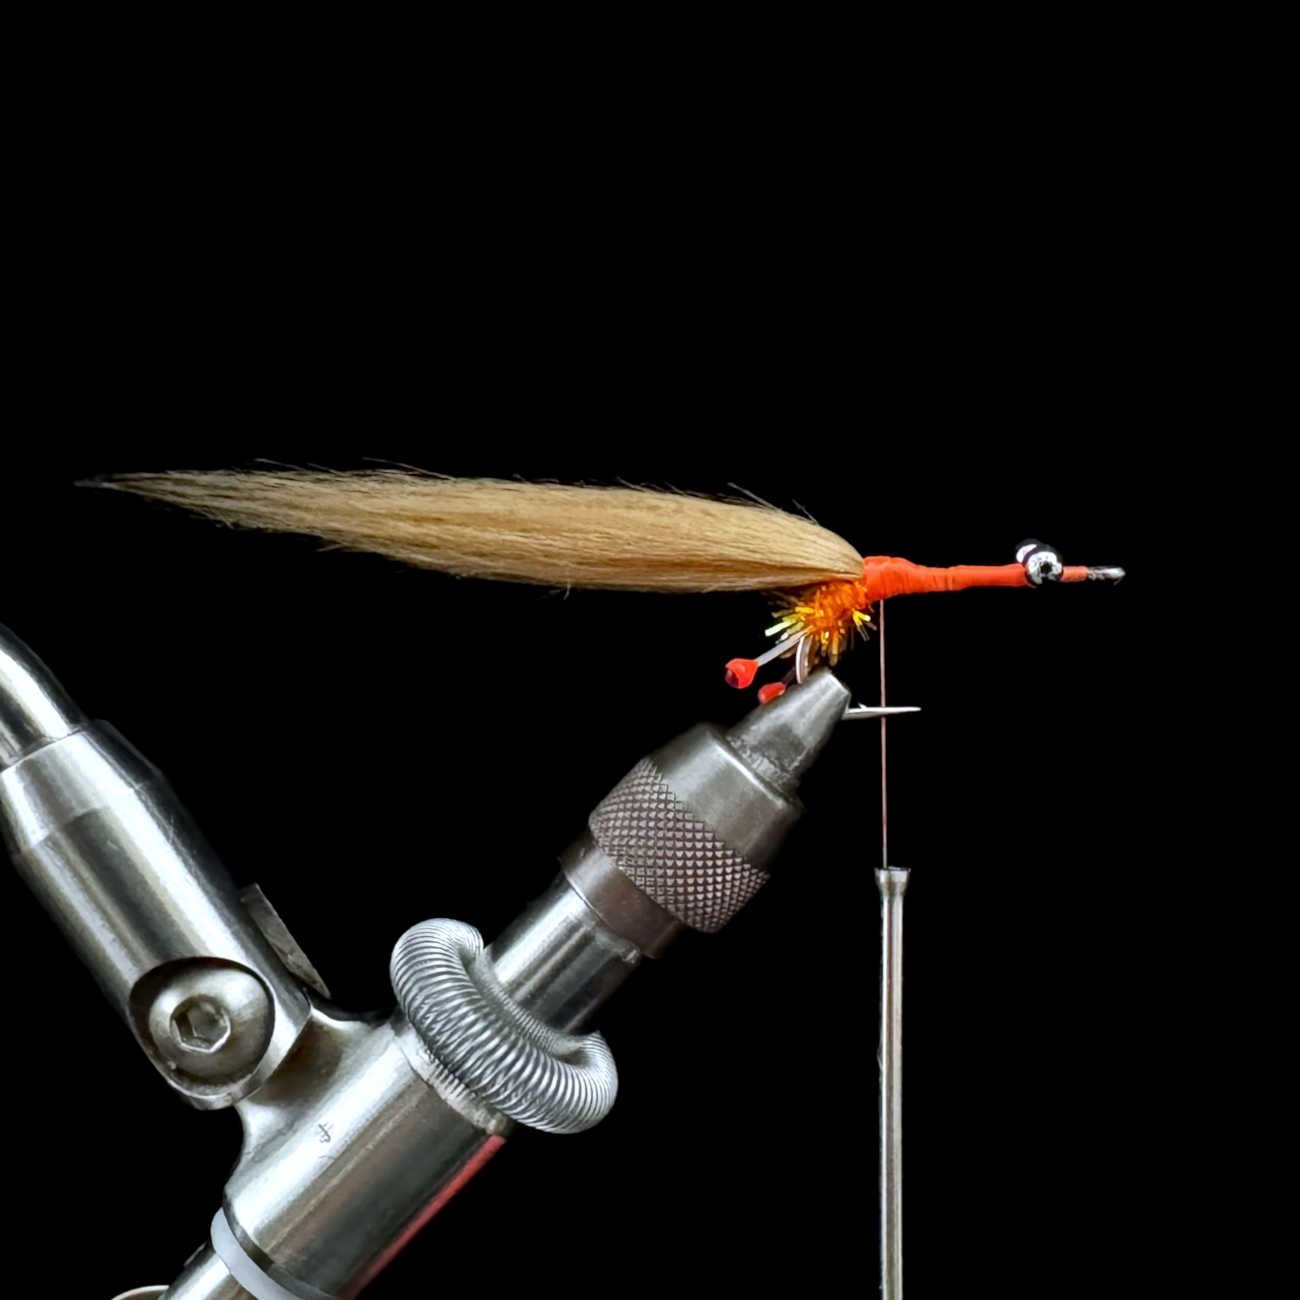
Whether you’re tying up one of your own or wanting to buy a Texas Toad already tied up, this tutorial will offer a little insight into what’s behind one of the top-producing Kwan fly variations.
The Texas Toad is designed to imitate small crustaceans, primarily crabs and shrimp, which are common prey for many saltwater predators. Its unique design, with a segmented crab body combined with an enticing tail, closely resembles these creatures as they scuttle and hover near the bottom. The fly's blend of materials and proportions makes it a versatile pattern that can be customized depending on where and how it's fished, making it a go-to choice when targeting fish that feed heavily on crustaceans. The Texas Toad is typically fished in shallow water environments like flats, marshes, and mangrove-lined shorelines, where many saltwater species forage for crabs and shrimp. When sight fishing, this fly excels at landing softly and having the ability to sink naturally into the strike zone. The retrieve is usually slow and deliberate, with short strips to mimic the erratic movement of a crab or shrimp. Fish it slow and crawl it along the bottom to imitate a fleeing or defensive crab, or strip it a little faster to resemble a fleeing shrimp.
This fly tying tutorial will cover the recipe and the step-by-step process of tying the Texas Toad in the popular Tan/Orange color scheme. When tying this fly, it’s important to focus on proportions, particularly with the body. The fly should have a balanced, natural profile that mimics the intended prey. The fly’s body is trimmed to shape after tying, with careful attention to achieve the desired silhouette. The fly’s adaptability in both appearance and performance makes it a staple in any saltwater angler’s fly box.
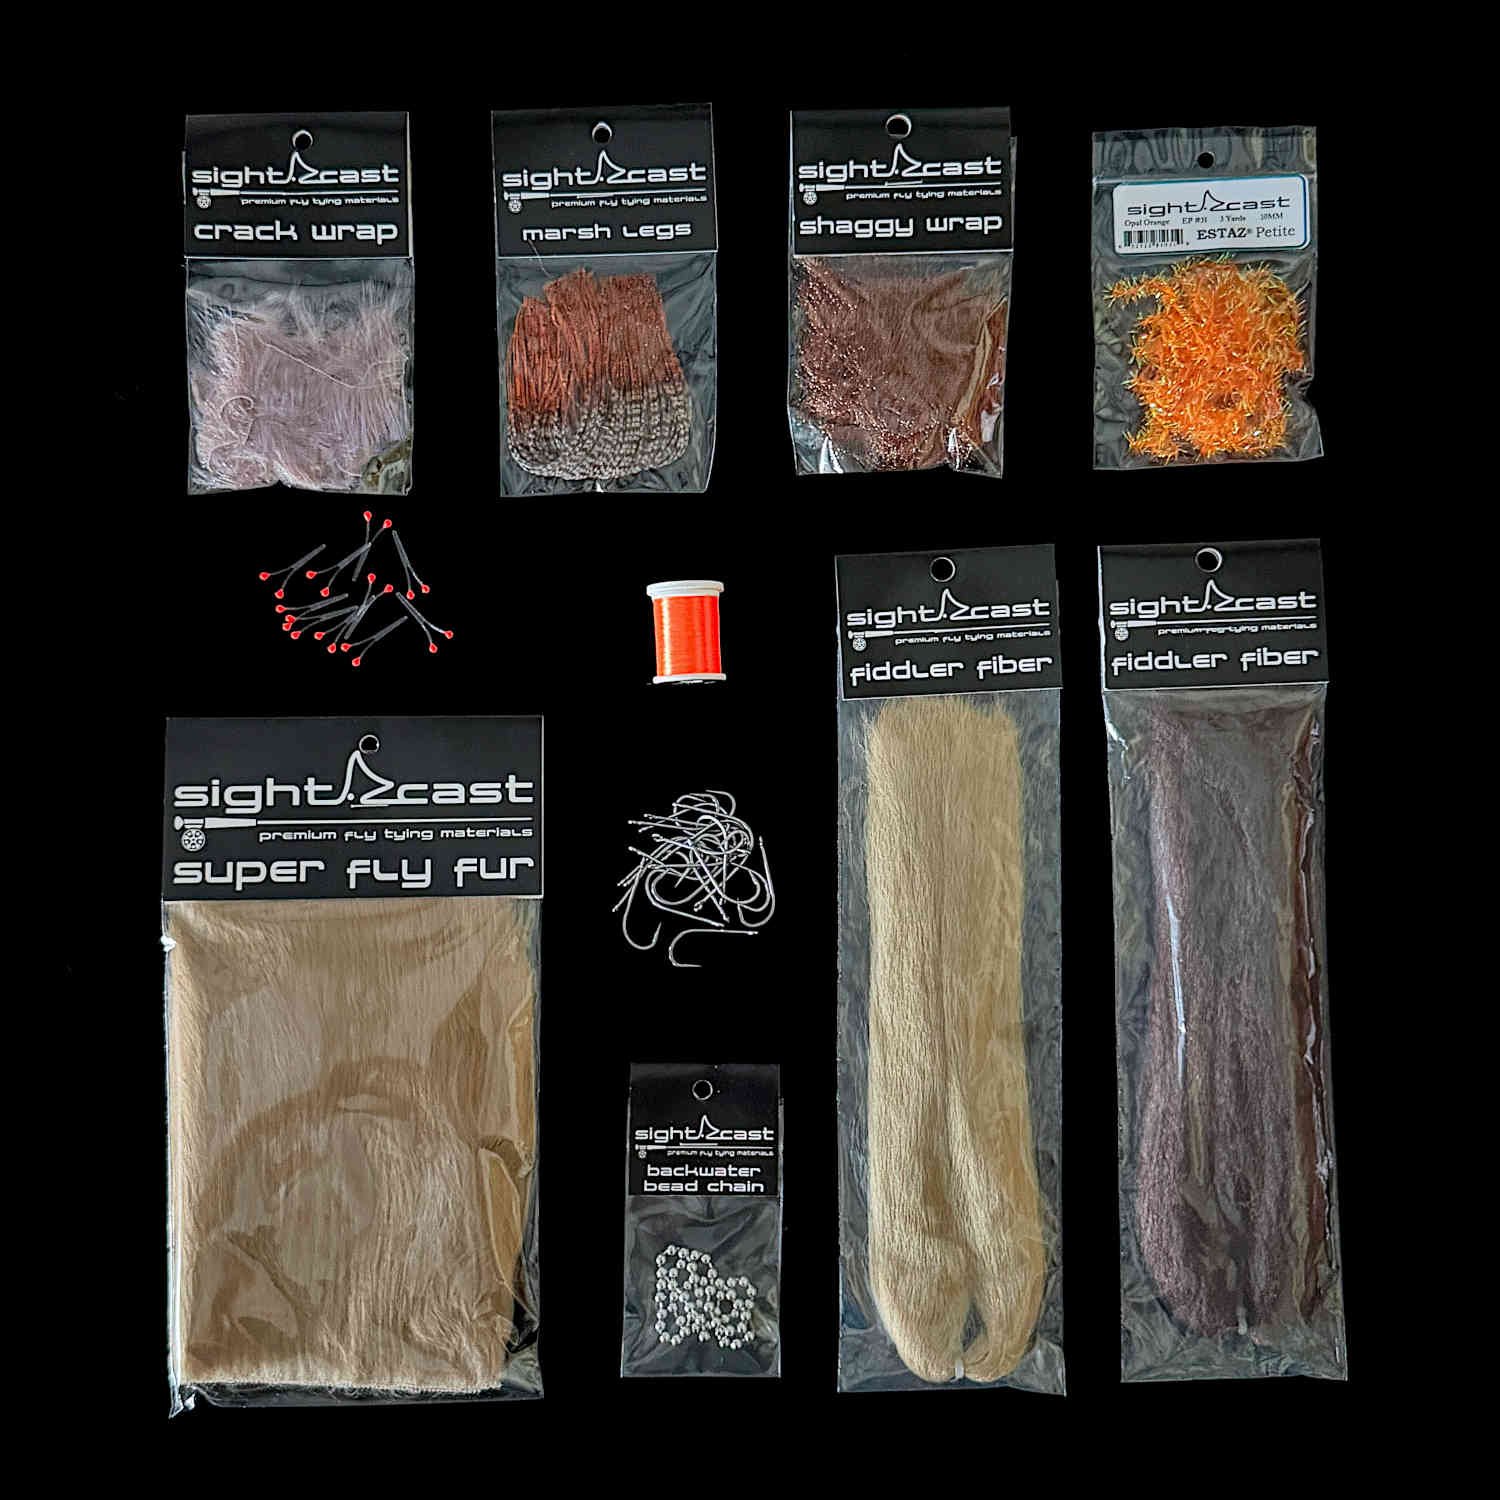
FLY TYING MATERIALS
(scroll down to the bottom to see the recipes for six effective color combinations)
Eyes: Easy Shrimp Eyes
Hot Spot: Estaz Petite
Tail: Super Fly Fur
Legs: Marsh Legs
Collar 1: Crack Wrap
Collar 2: Shaggy Wrap
Body 1: Fiddler Fiber
Body 2: Fiddler Fiber
Weedguard: Mason Hard Mono 30#
Thread: SCFC Flat Waxed Nylon
Hook: Size 2 - Ahrex SA210.
HOW TO TIE A TEXAS TOAD FLY
STEP 1:
Start by cutting a section of the Backwater Beadchain eyes using Flush Wire Cutters.
Then tie in the beadchain eyes approximately 1/8” from the eye of the hook.
For a fly with a faster sink rate, you can opt to use small Hot Spot Lead Eyes instead.
Step 2:
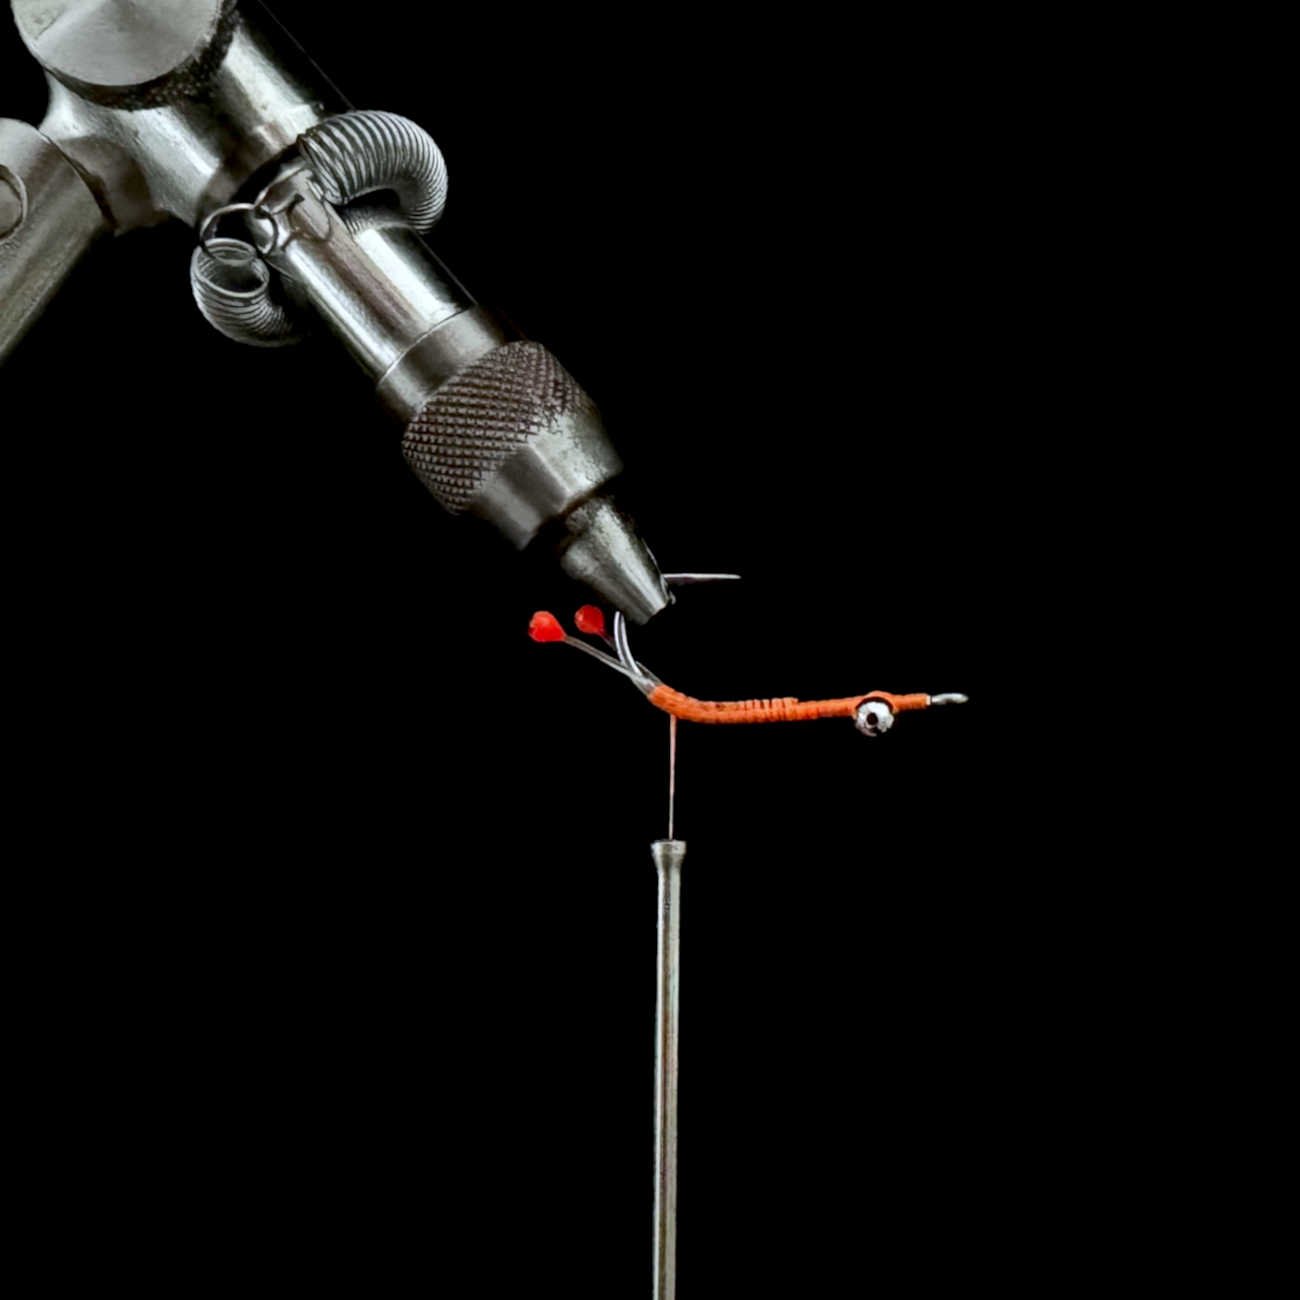
Wrap your thread past the bend of the hook and secure a pair of Easy Shrimp Eyes. The eyes should slightly bend upward following the bend of the hook.
Note: Inverting the fly in the vise and tying the eyes on the underside of the hook allows for the eye stem to be concealed by the materials used in the later steps.
Step 3:
Tie in a piece of Estaz Petite and wrap approximately 3-4 times at the bend of the hook. When finished, the Estaz should be level with the top of the hook shank.
This is commonly called a “Hot Spot” or “Egg Sack”. It provides a pop of color and helps keep the tail material propped up to avoid fouling.
Tip: When wrapping the Estaz, criss-cross between the Easy Shrimp Eyes a few times to help splay the eyes outward.
Step 4:
Tie in a small piece of Super Fly Fur just in front of the Hot Spot.
The tail length should be approximately 2.5” in length.
Tip: Keep the “bump” created by tying in the tail material to a minimum. Tying in the collar on the next few steps should completely cover up this “bump”.
Step 5:
Tie in two Marsh Legs. Spread the legs to both sides of the fly. Half on the left side, and half on the right side.
Note the position of the thread as it hangs from the bobbin. After tying in the legs, the thread should be in line with the barb of the hook, or close to it. This is a good measurement of the tie in location for the next step.
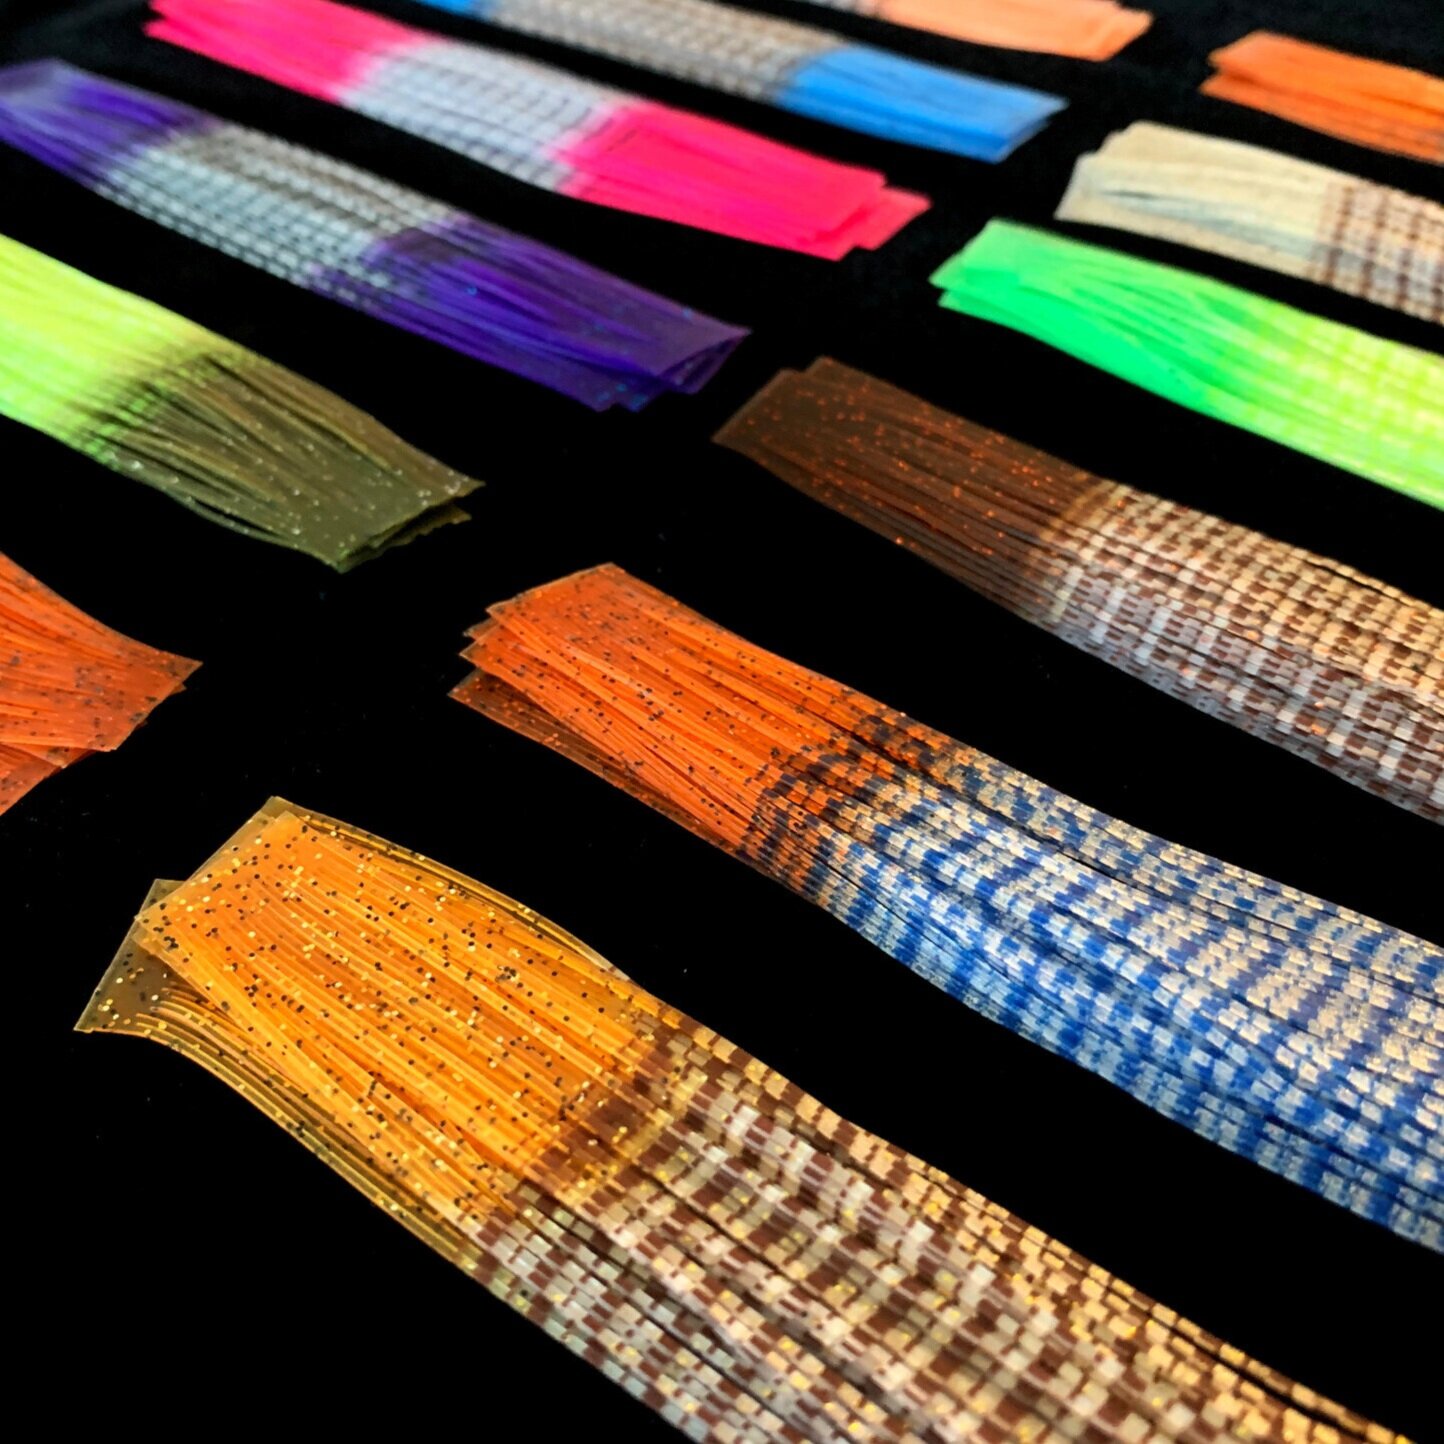
Silicone legs designed specifically for saltwater fly patterns and are the perfect way to add movement, color, and dimension to all your shrimp, crab, baitfish, and crustacean flies.
Step 6:
Begin the collar by tying in a piece of Crack Wrap and wrap 1-2 times.
Be sure that the flash fibers are all facing rearward when complete.
Step 7:
Next, tie in some Shaggy Wrap at the same location and wrap approximately 3-4 times.
Be sure to pull the fibers rearward after each wrap to avoid any trapped fibers and to ensure they are facing the direction of the tail.
Step 8:
After the collar is finished, it should completely hide the “bump” of materials on the hook shank created by the preceding steps.
Use some extra thread wraps to ensure that the hook shank is flat and uniform. This will give yourself a nice working surface to create the body of the fly in the next steps.
A chenille designed to give your flies a buggy appearance. Great to use for building collars and creating gnarly bodies that will come alive in the water.
Step 10:
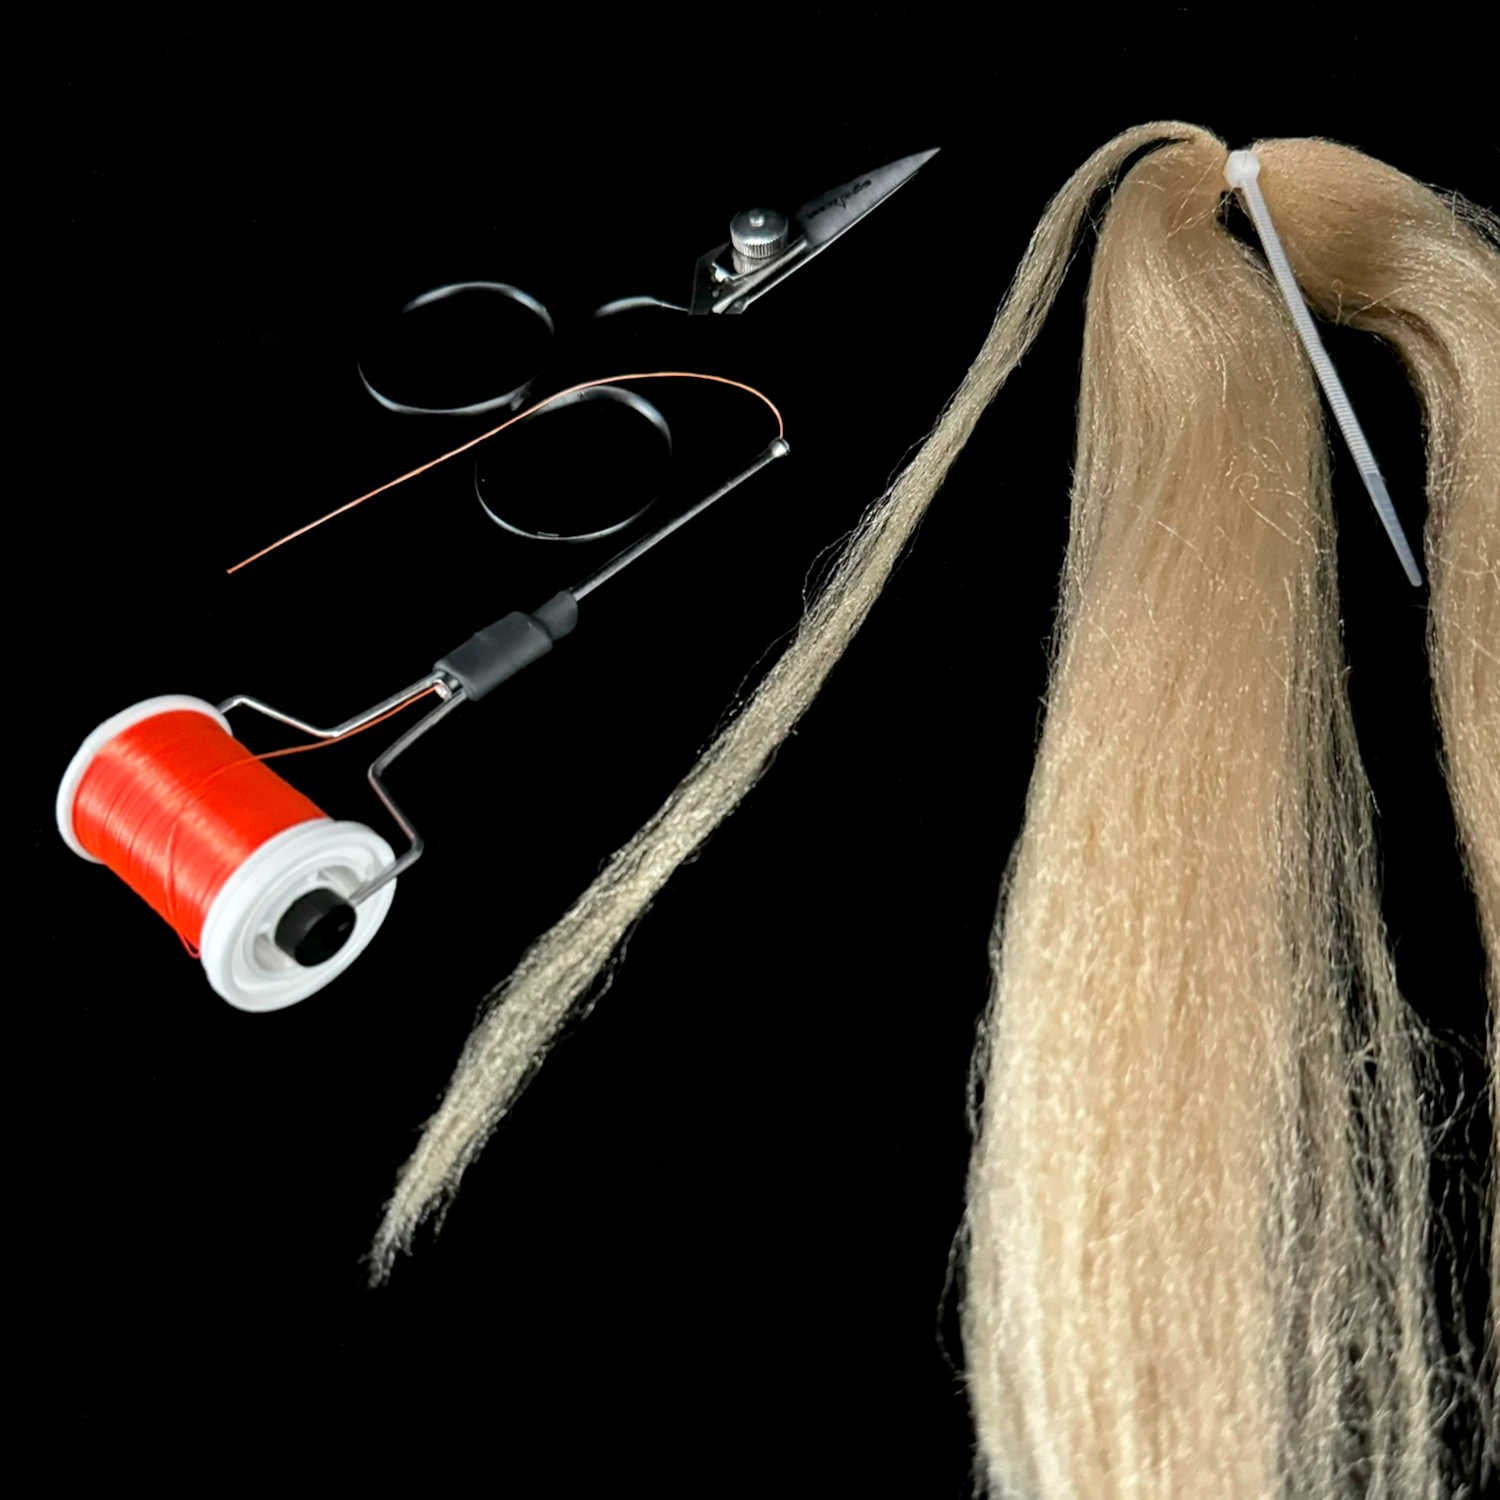
Grab a hank of Fiddler Fibers and cut off a piece about the same size as the picture. You will use 2 contrasting colors of these fibers that will make up the segmented body of the fly.
Tip: Less is more. Be sparse with the amount of fibers used on the body. Too many fibers creates an unnecessarily thick body that will affect the fly’s buoyancy and sink rate.
Step 10:
Cut the fibers into 2” long pieces.
For each fly, you will use 3 pieces of first color and 2 pieces of the second color.
Step 11:
Invert the fly in the vise and begin by placing the first fiber segment next to the collar.
Secure the fibers with 3 diagonal wraps of thread in one direction and then 3 diagonal wraps of thread in the other direction creating an “X” wrap.
Note: Placing the fibers on the underside of the hook helps the fly ride hook point up in the water.
Step 12:
After the “X” wrap, use your fingers to pull the fibers tight, and while moving them back and forth you can gently guide them into their final position.
IMPORTANT: After maneuvering the fibers into position, use a couple additional thread wraps in front of the fibers. This will lock down and tighten the “X” wraps and securely hold the fibers in place.
Step 13:
Tie in the next segment of fibers the same way. You will repeat this process 5 times to build the body.
Be sure to leave a little space between each segment. About 1/16” is sufficient. This will allow the fibers to evenly spread out without bunching up and creating an unnecessarily thick body.
Similar to the other fibers on the market, but these fibers have less frizz and curls allowing for them to lay flatter with less fluff. They are perfect for building segmented crab bodies or kwan-style patterns. All while having zero water absorption.
Finished:
Complete the fly by adding a weedguard if desired and trimming the Marsh Legs to the same length as the tail.
Use Solarez UV Resin to cover all the exposed thread wraps for added durability.
See below for the recipes of six effective color combinations of the Texas Toad.
Blue/Sand
Head: Backwater Beadchain (Medium) - Silver
Eyes: Easy Shrimp Eyes - Fl. Azure Blue
Hot Spot: Estaz Petite - Blue
Tail: Super Fly Fur - Cream
Legs: Marsh Legs - Sand/Brown - Blue Tip
Collar 1: Crack Wrap - Sand
Collar 2: Shaggy Wrap - Lt. Blue
Body 1: Fiddler Fiber - Beige
Body 2: Fiddler Fiber - Lt. Blue
Weedguard: Mason Hard Mono 30#
Thread: SCFC Flat Waxed Nylon - Beige
Hook: Size 2 - Ahrex SA210
Tan/Orange
Head: Backwater Beadchain (Medium) - Silver
Eyes: Easy Shrimp Eyes - Fl. Orange
Hot Spot: Estaz Petite - Orange
Tail: Super Fly Fur - Tan
Legs: Marsh Legs - Gold/Brown - Orange Tip
Collar 1: Crack Wrap - Tan
Collar 2: Shaggy Wrap - Rootbeer
Body 1: Fiddler Fiber - Tan
Body 2: Fiddler Fiber - Brown
Weedguard: Mason Hard Mono 30#
Thread: SCFC Flat Waxed Nylon - Orange
Hook: Size 2 - Ahrex SA210
Shrimp Pink/Brown
Head: Backwater Beadchain (Medium) - Silver
Eyes: Easy Shrimp Eyes - Trans. Brown
Hot Spot: Estaz Petite - Lt. Pink
Tail: Super Fly Fur - Brown
Legs: Marsh Legs - Pearl/Brown - Shrimp Pink Tip
Collar 1: Crack Wrap - Lt. Pink
Collar 2: Shaggy Wrap - Sand
Body 1: Fiddler Fiber - Brown
Body 2: Fiddler Fiber - Beige
Weedguard: Mason Hard Mono 30#
Thread: SCFC Flat Waxed Nylon - Shrimp Pink
Hook: Size 2 - Ahrex SA210
Olive/Tan
Head: Backwater Beadchain (Medium) - Silver
Eyes: Easy Shrimp Eyes - Fl. Yellow
Hot Spot: Estaz Petite - Chartreuse
Tail: Super Fly Fur - Sand
Legs: Marsh Legs - Clear/Chartreuse - Olive Tip
Collar 1: Crack Wrap - Olive
Collar 2: Shaggy Wrap - Olive
Body 1: Fiddler Fiber - Tan
Body 2: Fiddler Fiber - Olive
Weedguard: Mason Hard Mono 30#
Thread: SCFC Flat Waxed Nylon - Chartreuse
Hook: Size 2 - Ahrex SA210
Purple/Black
Head: Backwater Beadchain (Medium) - Silver
Eyes: Easy Shrimp Eyes - Midnight Purple
Hot Spot: Estaz Petite - Purple
Tail: Super Fly Fur - Black
Legs: Marsh Legs - Clear/Black - Purple Tip
Collar 1: Crack Wrap - Black
Collar 2: Shaggy Wrap - Purple
Body 1: Fiddler Fiber - Black
Body 2: Fiddler Fiber - Purple
Weedguard: Mason Hard Mono 30#
Thread: SCFC Flat Waxed Nylon - Purple
Hook: Size 2 - Ahrex SA210
White/Tan
Head: Backwater Beadchain (Medium) - Gold
Eyes: Easy Shrimp Eyes - Trans. Brown
Hot Spot: Estaz Petite - Tan
Tail: Super Fly Fur - White
Legs: Marsh Legs - Sand/Brown - White Tip
Collar 1: Crack Wrap - Rootbeer
Collar 2: Shaggy Wrap - Sand
Body 1: Fiddler Fiber - White
Body 2: Fiddler Fiber - Rootbeer
Weedguard: Mason Hard Mono 30#
Thread: SCFC Flat Waxed Nylon - Tan
Hook: Size 2 - Ahrex SA210
Sight Cast Fishing Company
We provide a line of products that are designed for those that live and breathe the shallow flats and backwater marshes. Our passion is saltwater fly fishing and we aim to provide top quality flies and fly tying materials designed for the Gulf Coast fly fisherman. Many of the materials used in this fly are available in the Tying Materials section of the website. You can also purchase this fly and many others that are already tied up and ready to fish in the Fly Shop. Good luck out there on the water!

